
Custom sheet metal parts in as little as 3 days - Get a quote now!

How to Choose the Right External Meter Box?

Choosing the right External Meter Box starts with the meter’s location and operating conditions. Is it mounted on a sheltered wall, or exposed to wind-driven rain, dust, and direct sunlight? That difference matters. Check the meter’s dimensions, cable entry points, and required working clearance before comparing products. A box that looks roomy online may feel cramped once wiring and fittings are installed. Measure twice. Review the enclosure’s material, door design, mounting method, and stated protection rating. These details affect durability and everyday access, not just appearance.

Match the enclosure to the site and the equipment it must contain. Outdoor installations may need weather-resistant construction, secure closures, and materials suited to local temperature changes. Confirm compatibility with the meter type and any fittings specified by the utility provider. Manufacturer drawings and product data are useful, but they cannot account for every site condition. Ask a qualified electrician or the relevant utility for guidance when requirements are unclear. Keep future maintenance in mind: a readable display and an unobstructed door can make inspections easier. The lowest-priced option may be suitable, but not if its hinges corrode or its cover blocks access. No single box suits every property. A careful fit, clear documentation, and a second look before installation are usually more reliable than guesswork.
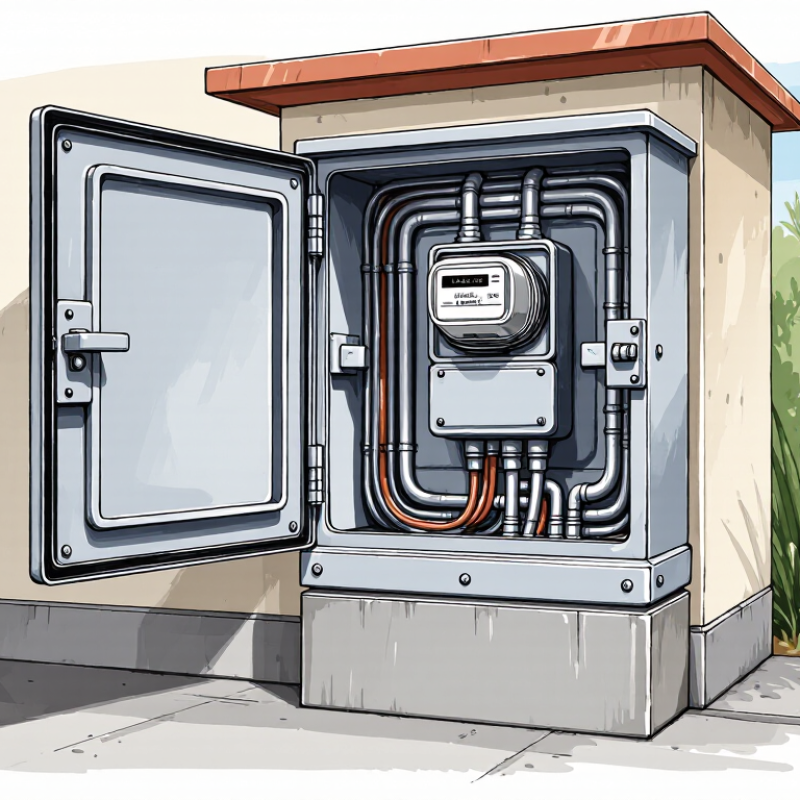
How to Choose the Right External Meter Box?

Understand the Purpose and Requirements of an External Meter Box

How to Choose the Right External Meter Box?

Understand the Purpose and Requirements of an External Meter Box

An external meter box shields the electricity meter from rain, dust, accidental knocks, and curious hands. It should also let authorized workers read and service the meter without removing fixed parts. Before choosing one, check the meter’s dimensions, mounting position, cable entry points, and required working clearance. Utility providers and local electrical requirements may specify acceptable enclosure types, so confirm these details with a qualified electrician or the relevant provider. A tidy appearance is not enough.

Tips: Check the enclosure’s weather rating and material suitability for your climate. Coastal air may speed corrosion; strong sun can weaken some plastics. Look for a secure door, durable hinges, and openings that match the cable route. Measure twice. A small mismatch can complicate installation.

Think about the actual location: a narrow passage, exposed wall, or spot near a sprinkler may need extra consideration. Keep the meter accessible, and avoid blocking ventilation or placing the box where water collects. I would not assume every “outdoor” box suits every meter. That is an easy mistake. If the site has unusual conditions, ask an electrician to verify the fit and installation plan before buying.

Check Meter Compatibility, Capacity, and Utility Specifications

Choosing an external meter box starts with the meter it must house. Check the meter’s dimensions, mounting points, terminal layout, and required clearances. A box that looks spacious may still block a cable entry or make the meter difficult to read. Small details matter. Compare the manufacturer’s installation information with the box’s internal measurements, not just its exterior size.

Capacity means more than physical space. Confirm that the enclosure suits the service rating, number of meters, and wiring arrangement specified for your property. Also check its environmental rating and material suitability for the installation location. A box exposed to rain, direct sun, or salty air may need different protection. I’ve seen sizing decisions focus on the meter alone; the incoming cables and bending room deserve attention too.

Utility requirements can determine the final choice. Ask the local utility for its current rules on approved enclosure types, meter positioning, access, and service capacity before buying. Requirements can differ by area, and they may change. That can change the plan. If a specification is unclear, have a qualified electrician verify it with the utility rather than guessing from an online product description. Keep the relevant measurements and written requirements together; they make comparison easier and reduce avoidable installation delays.

How to Choose the Right External Meter Box

Compare common service amp ratings, then confirm meter compatibility and local utility requirements before selecting equipment.

The ratings shown are common examples, not a universal specification. Match the box to the meter form, service voltage and phase, and required amperage. Utility-approved equipment and installation requirements vary by location, so check with your utility and a qualified electrician.

Assess the Installation Location and Environmental Conditions

Choose the meter box location before comparing enclosure sizes. Walk around the building after rain and look for roof drip lines, downpipes, and places where water collects. A spot that seems dry on a sunny day may get soaked during a storm. Keep the box away from vehicle paths, stored equipment, and routine work areas. Leave enough clear space for a meter reader or electrician to open the cover safely. Check the local utility’s placement requirements, since access and mounting height can vary.

Match the enclosure to the actual conditions. Coastal air can speed corrosion, while direct afternoon sun may raise temperatures inside the box. Dust, windblown debris, and freezing weather can also affect material choice and sealing. Look for the manufacturer’s stated environmental rating, and confirm it suits the site rather than relying on appearance alone. A sheltered wall can help, but shelter should not block access or trap heat. One detail I would recheck is the path water takes along the wall; it is easy to miss a small runoff channel. If the location is exposed to flooding or unusual weather, ask a qualified electrician or the utility to assess it before installation.

How to Choose the Right External Meter Box? - Assess the Installation Location and Environmental Conditions
Location or Condition What to Assess Practical Guidance Selection Implication
Rain and water exposure Whether the box will face wind-driven rain, hose spray, or frequent splashing. Check the enclosure’s IP rating under IEC 60529. For example, IP54 provides limited dust protection and protection against water splashes; IP65 is dust-tight and protected against water jets. Choose a rating suited to the actual exposure, and confirm that cable entries, seals, and covers maintain the intended protection.
Flooding and standing water Nearby drains, low points, flood history, and the likely height of surface water. Place the enclosure above areas that may flood or collect water. Follow local electrical rules and utility requirements for mounting height. A higher mounting position and suitable sealed cable entries can reduce water-ingress risk.
Direct sunlight and UV exposure Daily sun exposure, especially on south- or west-facing walls in the Northern Hemisphere. Confirm that the enclosure material and finish are rated for outdoor UV exposure. Direct sun can increase internal temperature and age some plastics. Use UV-resistant materials and, where practical, a shaded location that still meets access and utility requirements.
Ambient temperature Local seasonal highs and lows, plus heat from direct sun or nearby equipment. Compare expected conditions with the manufacturer’s stated operating-temperature range. Do not assume all enclosures have the same temperature limits. Select a box and meter arrangement suitable for the site’s temperature range, with ventilation only where the design permits it.
Coastal or corrosive atmosphere Salt spray, sea air, industrial fumes, fertilizer, or other corrosive substances. Check the enclosure material, coating, fasteners, and hinges for compatibility with the exposure. Stainless steel, coated metal, or suitable outdoor polymer may be appropriate depending on the site. Specify corrosion-resistant construction and inspect seals and hardware periodically.
Dust, sand, and debris Windblown dust, sand, pollen, leaves, or nearby construction activity. Consider the required dust protection and how the lid and cable-entry openings are sealed. IP ratings describe enclosure protection when correctly installed. Use a suitable dust-protection rating and avoid unnecessary openings or poorly fitted glands.
Mounting surface and impact risk Wall strength, vibration, vehicle movement, and exposure to tools or accidental knocks. Mount on a stable surface using compatible fixings. In locations exposed to impact, consider a robust enclosure and a position protected from traffic. Match the enclosure construction and mounting method to the physical risks at the installation point.
Access and working clearance Whether authorized personnel can read, inspect, and service the meter safely. Keep the meter visible and accessible, with enough space to open the cover and work safely. Check clearance and placement requirements with the local utility. A weather-protected location is not suitable if it obstructs safe access or conflicts with utility requirements.
Nearby heat sources Boilers, exhaust outlets, hot pipes, generators, or other equipment that may heat the enclosure. Keep the box away from concentrated heat and follow specified separation distances for nearby equipment. Choose a cooler position to help keep the meter within its stated operating conditions.
Important: Enclosure ratings and installation rules vary by product, utility, and jurisdiction. Confirm the required meter-box type, mounting position, clearances, and environmental rating with the local utility and a qualified installer before installation.

Compare Enclosure Materials, Protection Ratings, and Security Features

How to Choose the Right External Meter Box?

Material affects how well a meter box handles weather, impact, and maintenance. Powder-coated steel is sturdy, but chipped coating can expose metal to rust, especially near the coast. Polycarbonate resists corrosion and weighs less; however, prolonged sunlight can make some plastics brittle. Fiberglass offers a useful balance, though its cost and availability vary. Check the hinges and mounting points, not just the panel. Small details matter.

Protection ratings describe resistance to dust and water, not resistance to tampering. Match the rating to the actual site: a sheltered wall needs different protection from a box exposed to wind-driven rain or hose spray. Read the rating carefully, and confirm it suits the meter and installation requirements. For security, look for a robust hasp, concealed or protected hinges, and a lock that authorized workers can access. A stronger lock is not always better if it complicates service visits.

Not always. In practice, the best choice balances exposure, durability, and safe access; it is easy to over-specify one feature and overlook the others.

Verify Local Codes, Safe Installation, and Maintenance Access

Choosing an external meter box starts with the requirements where the property is located. Local utilities and authorities may specify enclosure type, mounting height, working clearance, and cable entry points. Check current requirements before buying. A box that appears suitable may still be rejected. Small details matter. Note exposure to coastal salt, driving rain, or strong afternoon sun; these conditions affect material selection, seals, and corrosion resistance.

Safe installation depends on more than secure fasteners. Ask a qualified electrician to assess the mounting surface, wiring route, and equipment clearances, and to complete or inspect electrical work. Meter equipment can remain hazardous, so avoid opening or altering connected components yourself. Plan for maintenance access, too: the door should open fully, and technicians should be able to reach the box without moving bins or cutting back shrubs. Keep the area clear after installation. It is easy to focus on appearance and overlook access; that small oversight can make a routine inspection awkward. Check the enclosure periodically for cracked seals, loose fittings, or visible corrosion, and arrange repairs when needed.